PanDev + GitHub: Integration via GitHub App

Managing personal access tokens and manual webhooks for every repo gets old fast. PanDev Metrics integrates with GitHub through a dedicated GitHub App — no tokens to rotate, fine-grained permissions out of the box, and automatic webhook management.
This guide walks you through installing the app, granting permissions, and verifying that commit and pull request data flows into your dashboards.
{/* truncate */}
GitHub App vs. Personal Access Token
Before we start, let's clarify why PanDev uses a GitHub App instead of a PAT:
| Feature | GitHub App | Personal Access Token |
|---|---|---|
| Tied to a person | No — installed at org level | Yes — if the person leaves, integration breaks |
| Permissions | Fine-grained, per-repository | Broad scopes |
| Rate limits | Higher (5,000+ req/hour) | Lower (5,000 req/hour shared across all tools) |
| Webhook management | Automatic | Manual |
| OAuth for users | Built-in | Separate setup |
The GitHub App approach is GitHub's recommended integration pattern for third-party tools.
Prerequisites
| Requirement | Details |
|---|---|
| GitHub account | Organization Owner role to install the app, or individual account for personal repos |
| PanDev Metrics account | Admin or Manager role |
| Repositories | At least one repo you want to track |
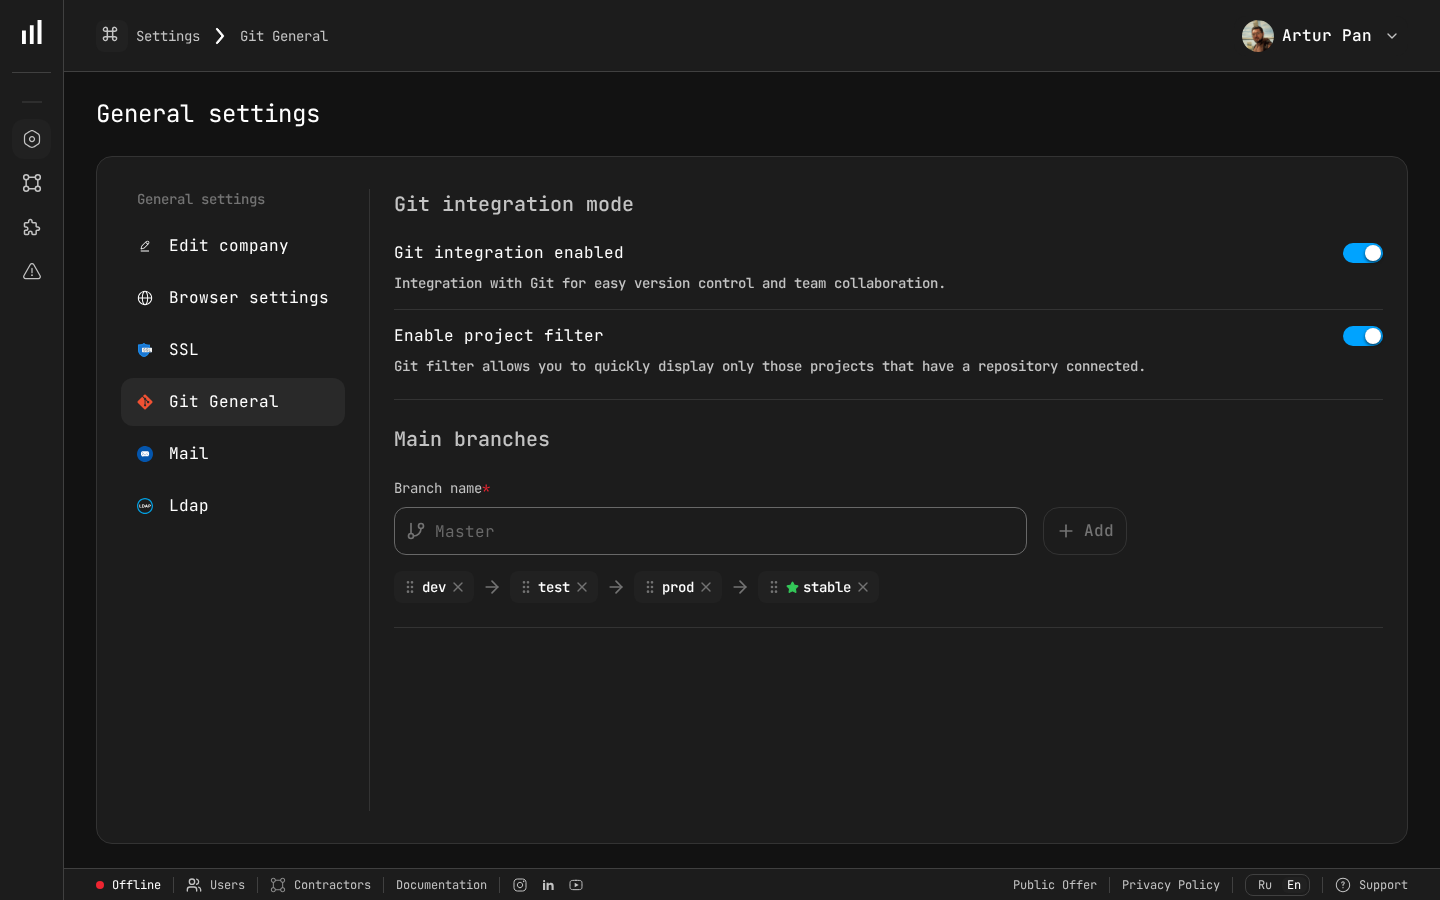 The Git General settings page shows integration toggles, project filtering, and branch flow configuration — your starting point for connecting GitHub to PanDev Metrics.
Step 1: Start the Connection in PanDev
- Log in to PanDev Metrics
- Go to Settings → Integrations → GitHub
- Click Connect GitHub
PanDev redirects you to GitHub's app installation page.
Step 2: Install the PanDev GitHub App
On the GitHub installation page:
- Select the organization (or your personal account) where you want to install the app
- Choose repository access:
◉ All repositories
   PanDev will automatically track new repos as they're created.

○ Only select repositories
   Pick specific repos from the list below.
For most teams, "Only select repositories" is the safer starting point. You can always add more later.
- Review the permissions the app requests:
Repository permissions:
  Contents:        Read-only  (to read commits and files)
  Metadata:        Read-only  (basic repo info)
  Pull requests:   Read-only  (to track PRs, reviews, comments)
  Checks:          Read-only  (optional — for CI/CD metrics)

Organization permissions:
  Members:         Read-only  (to map users to profiles)

Events:
  ✅ Push
  ✅ Pull request
  ✅ Pull request review
  ✅ Pull request review comment
  ✅ Check run (optional)
- Click Install & Authorize
GitHub redirects you back to PanDev.
Step 3: Complete OAuth Authorization
After the app is installed, PanDev asks you to authorize via OAuth. This is a separate step from app installation — it links your personal GitHub identity to your PanDev profile.
- Click Authorize PanDev Metrics
- GitHub shows the OAuth consent screen
- Click Authorize
You're redirected back to PanDev, and you should see a success message:
✅ GitHub connected successfully
   Organization: your-org
   Repositories: 12 selected
Step 4: Verify Repository Discovery
After connection, PanDev imports metadata from your selected repositories:
- Go to Settings → Integrations → GitHub
- You should see your organization listed with the connected repos
- Each repo shows its sync status:
Repository              Status         Last Sync
───────────────────────────────────────────────────
your-org/frontend       ✅ Active      Just now
your-org/backend-api    ✅ Active      Just now
your-org/infra          ✅ Active      Just now
your-org/docs           ⏸ Paused       —
If a repo shows as "Paused," it means PanDev detected it but you haven't enabled tracking. Click the toggle to activate it.
Step 5: Historical Data Import
PanDev automatically imports historical data for the last 90 days when you first connect a repository. This includes:
- All commits on the default branch and merged PR branches
- All pull requests (open, closed, merged)
- All PR reviews and comments
- All check runs and pipeline statuses
The import runs in the background. For a typical repo with a few thousand commits, it takes 2–5 minutes. Large monorepos (100K+ commits) may take up to 30 minutes.
Track progress at Settings → Integrations → GitHub → Import Status.
Step 6: Map GitHub Users to Team Members
For accurate metrics, PanDev needs to associate GitHub identities with team member profiles.
- Go to Settings → Team Management
- PanDev shows a list of detected GitHub usernames from your repos
- For each user, either:
- Auto-match — PanDev tries to match by email address
- Manual match — select the correct team member from a dropdown
- Ignore — for bots, service accounts, or external contributors you don't need to track
Handling Multiple Identities
Developers often commit with different email addresses or usernames:
Same person, different identities:
  - GitHub user: @jsmith
  - Commit email: john.smith@company.com
  - Commit email: john@personal.email
  - Git author: "John Smith"
  - Git author: "jsmith"
In PanDev, go to the team member's profile and add all aliases under Identity Aliases. PanDev will merge activity from all identities into a single profile.
Step 7: Configure Tracking Preferences
Exclude Noisy Files
Prevent auto-generated files from inflating line-count metrics:
# Settings → Projects → [Repo] → Excluded Paths
excluded_paths:
  - "package-lock.json"
  - "yarn.lock"
  - "Gemfile.lock"
  - "*.generated.*"
  - "vendor/**"
  - "node_modules/**"
  - "dist/**"
  - "__snapshots__/**"
Branch Strategy
Tell PanDev how your team uses branches:
Settings → Projects → [Repo] → Branch Configuration

Default branch: main
Production branches: main, release/*
Feature branch pattern: feature/*, fix/*, chore/*
Ignored branches: dependabot/*, renovate/*, gh-pages
This affects cycle time calculations — PanDev measures the time from first commit on a feature branch to merge into the production branch.
Working Hours
Settings → Organization → Working Hours

Schedule: Monday–Friday
Hours: 09:00–18:00
Timezone: America/New_York (or per-user)
Exclude holidays: ✅ (upload your company holiday calendar)
Step 8: Explore Your Dashboard
With data flowing, your dashboard populates within minutes. Here's what to look at first:
Pull Request Metrics
| Metric | What it shows |
|---|---|
| PR Cycle Time | Total time from PR open to merge |
| Time to First Review | How long PRs wait before someone reviews |
| Review Turnaround | Time between review request and review submission |
| PR Size | Lines changed per PR (smaller is usually better) |
| PR Throughput | PRs merged per day/week/sprint |
Commit Metrics
| Metric | What it shows |
|---|---|
| Commit Frequency | Commits per developer per day |
| Active Contributors | Unique committers per week |
| Code Churn | Lines added then modified within the same sprint |
DORA Metrics
If you enabled check run events:
| DORA Metric | Source |
|---|---|
| Deployment Frequency | Merged PRs to production branches |
| Lead Time for Changes | First commit → production merge |
| Mean Time to Recovery | Time between failure and fix deployments |
| Change Failure Rate | Ratio of failed to total deployments |
Managing the GitHub App
Adding More Repositories
- Go to GitHub → Settings → Applications → PanDev Metrics → Configure
- Under "Repository access," add new repos
- PanDev automatically detects the change and starts syncing
Removing Repositories
Same path as above — deselect repos you no longer want to track. Historical data is retained in PanDev for 90 days after disconnection.
Uninstalling the App
To completely remove the integration:
- GitHub side: Settings → Applications → PanDev Metrics → Uninstall
- PanDev side: Settings → Integrations → GitHub → Disconnect
Troubleshooting
No data appearing after installation
- Check that webhooks are delivering: GitHub → Repo → Settings → Webhooks → Recent Deliveries
- Verify the app has the correct permissions: GitHub → Settings → Applications → PanDev Metrics → Permissions
- Ensure the repo is enabled in PanDev (not paused)
"Insufficient permissions" error
The GitHub App needs to be installed by an Organization Owner. If you're a member, ask an owner to install it, then authorize with your own account via OAuth.
Rate limiting during historical import
For very large organizations (1,000+ repos), PanDev staggers the import to stay within GitHub's rate limits. The import may take a few hours. You'll see progress in the import status page.
GitHub Enterprise Server (self-hosted)
PanDev supports GitHub Enterprise Server. During setup, select "GitHub Enterprise" and enter your instance URL:
GitHub Enterprise URL: https://github.yourcompany.com
The GitHub App installation flow works the same way. Ensure your GitHub Enterprise instance can reach PanDev's webhook endpoint, or deploy PanDev on-premise.
Next Steps
Your GitHub integration is live. Consider these follow-up actions:
- Connect your project tracker — link Jira or ClickUp to correlate coding activity with tasks
- Install IDE plugins — add VS Code or JetBrains plugins for coding time data
- Share dashboards — invite team leads to PanDev and create per-team views
- Set up alerts — get notified when cycle time exceeds your team's threshold
Connect GitHub in 5 minutes. Start tracking your engineering metrics with PanDev Metrics — no tokens to rotate, no webhooks to manage manually.